Photoshop Tutorial - Creating Flyers
Photoshop Training - Creating a flyer...
Photoshop Introduction Training...
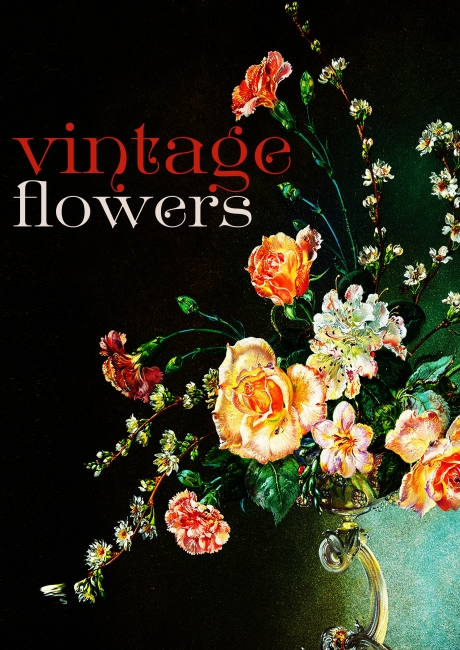
One of the things we do early in the Photoshop Introduction course is to let delegates create and design something relevant to themselves or their business . The following example is from a delegate who put this together after a couple of hours of training. Once you get the hang of a few tools and techniques in Photoshop this is quite quick and straightforward to do.
The delegate was on the course to learn how to put together promotional images for her floral design business and decided a flyer would be a good practise exercise.
Plan the Project...
Picture what you want in your head - then gather the assets. The assets in this instance were a simple graphic and a victorian typeface.
The Image...
The first thing to be done was to size the image to fit an A3 (297mm X 420mm) size sheet - Image Menu > Image Resize where the Deselect Resample Image box was deselected (there was no need to change the photo's image data) and then the width, height & resolution were changed to create the correct page sizing.
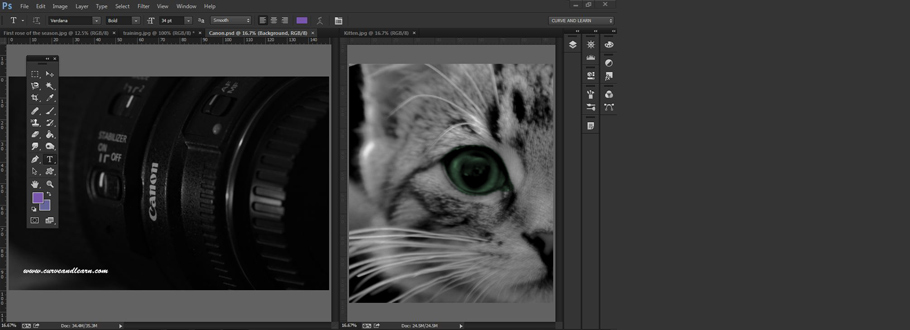
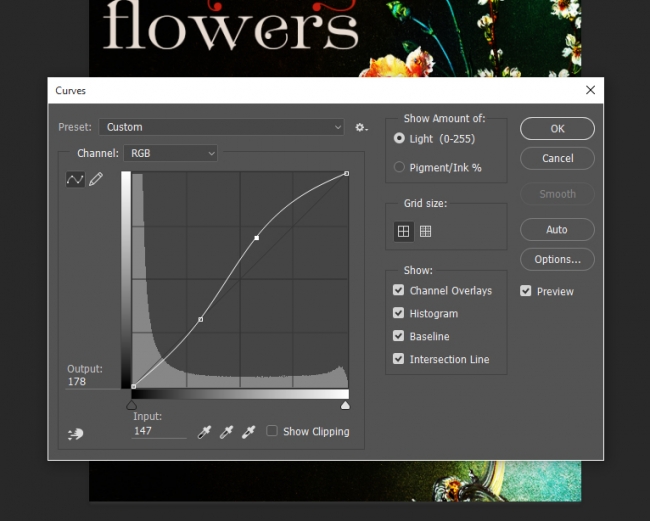
As the image was quite flat colour wise it was then enhanced using the Curves command by going to the Layer Menu >New Adjustment Layer >Curves and work with the tonal curve which is manipulated by using anchor points that adjust the colour range to deepen, brighten and change colour contrast.
Curves are similiar to the Levels command but whereas levels control the black, white and mid control tonal curves control the colour by using anchor points as shown below and can really make an image stand out.
 .
.
Curves...
Video