Glyphs in InDesign
Glyphs in InDesign...
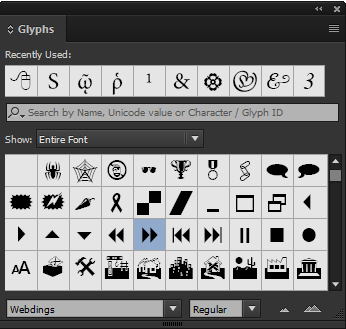
In essence Glyphs are really clever and very under ulitised and the majority of people simply insert them from the Type Menu >Glyphs and use them for copyright or registration symbols as shown below:
Glyphs are also accessible from the Find /Change feature found under the Edit menu where you can handle them on a much larger scale - for example if you some reason you have a hundred spiderweb glyphs in the document you can swiftly change these for something else in one move.
Quick Tip!
To quickly access Glyph options simply doubleclick on the Glyph itself to activate the sub-menu (as shown below) where you can create new Glyph sets or simply load them into the Find/ Change > Glyph tab
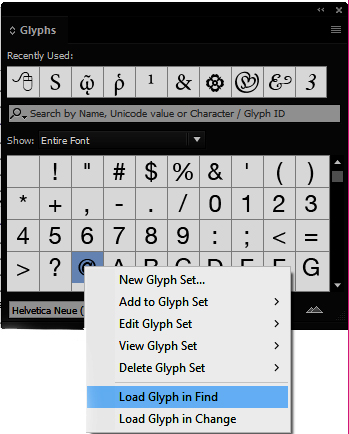
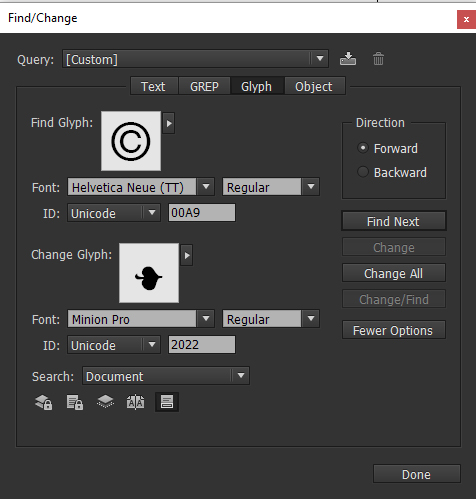
In the Find /Change box -
First select the Font type from the Font drop down box then click on the right facing arrow next to the 'Find Glyph' box to select the required Glyph then do the same in the boxes below under Change Glyph.
You then have the option to change these individually or to Change All
InDesign Training Courses...
Working with Glyphs can be covered in any of the InDesign Courses we run onsite across the Midlands and all major cities across the UK